For owners & managers

From install to
first alert.

Restaurants, hotels, retail, schools, food production: if the operation depends on cooling, heating, or clean air, this is the step-by-step of getting it watched: what the install involves, what the first weeks look like, and what lands on your phone when something drifts.
Step 1 · Install

A service visit, not a project.

Sensors are fitted during a normal service visit, about an hour per unit. Clip-on temperature probes and current clamps: the refrigerant circuit is never opened, and nothing connects to your building's network or controls. When the visit ends, the watching has started.

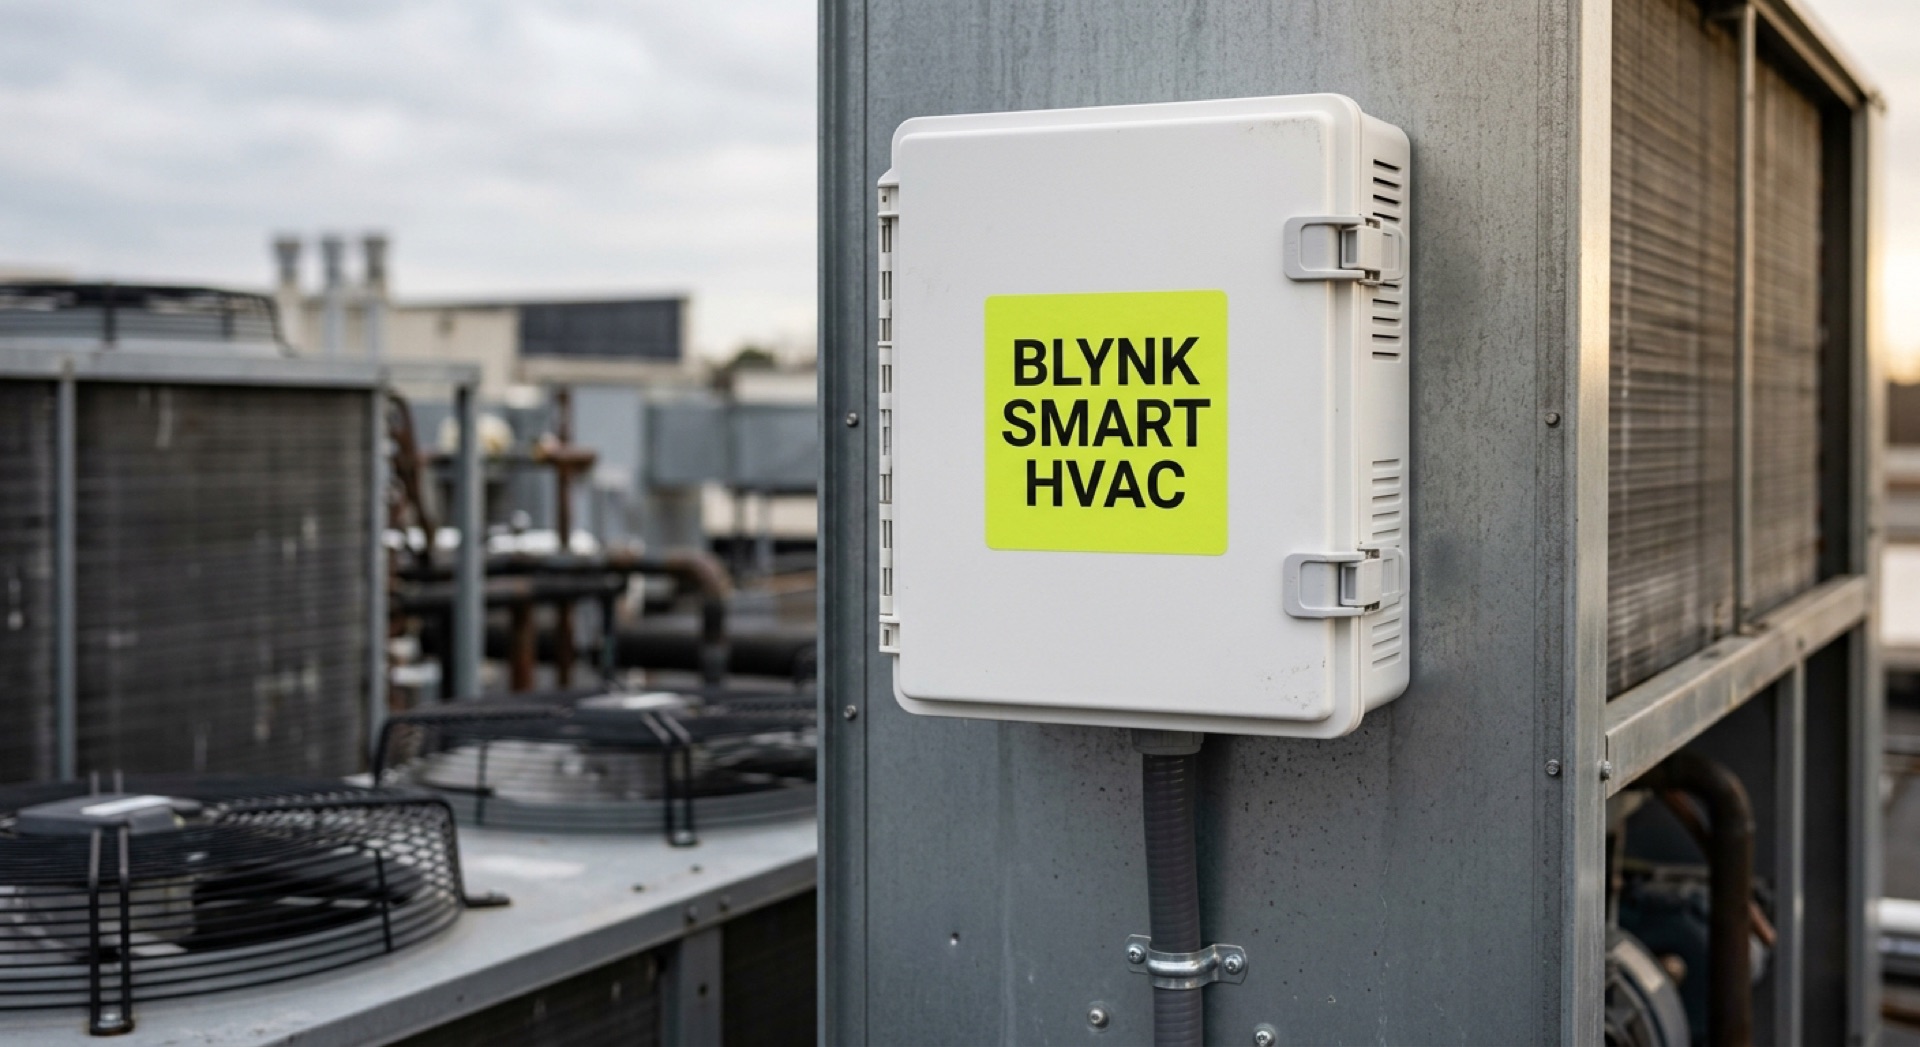
A SmartHVAC monitoring unit mounted on the panel of a commercial heat pump
The monitoring unit on a heat pump: sensors inside, one sealed conduit out.
Step 2 · The first weeks

It learns what normal looks like.

The first weeks are the software learning each unit's normal: how long it runs to hold its setpoint, what it draws, how fast it recovers after a delivery or a lunch rush. After that, silence means healthy. An alert means something specific changed, with the data to show what.

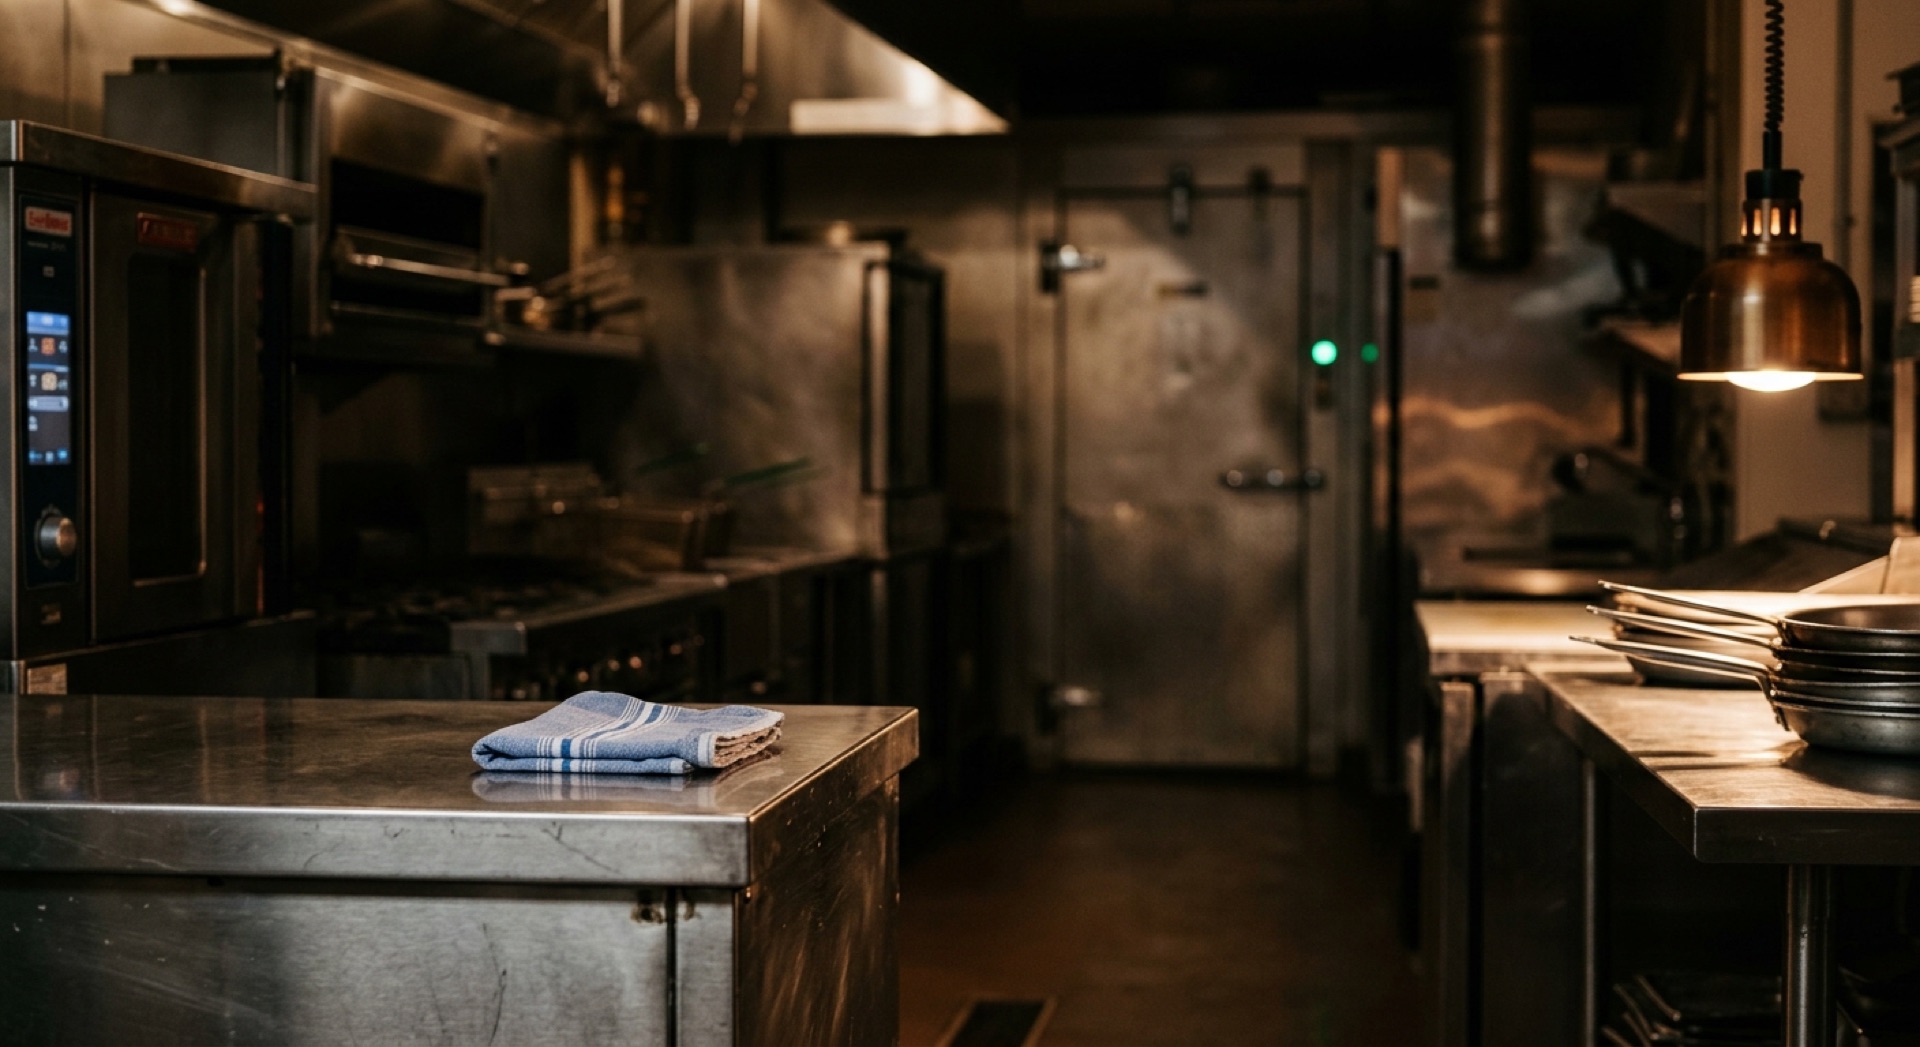
A commercial kitchen at closing time, the walk-in cooler indicator glowing green
Most weeks, nothing. The device reports, the numbers stay in range, and you hear from no one.
Step 3 · The alert

Plain language, with the evidence attached.

No sensor codes, no jargon. What was detected, what it means, and what to say when you call your service company:

● Attention

Dining room AC losing ground

Caught early. Repair booked for Tuesday.

● Watching

Walk-in cooler working too hard

Flagged before the stock was at risk.

● Healthy

All other units

Checked around the clock, every day.

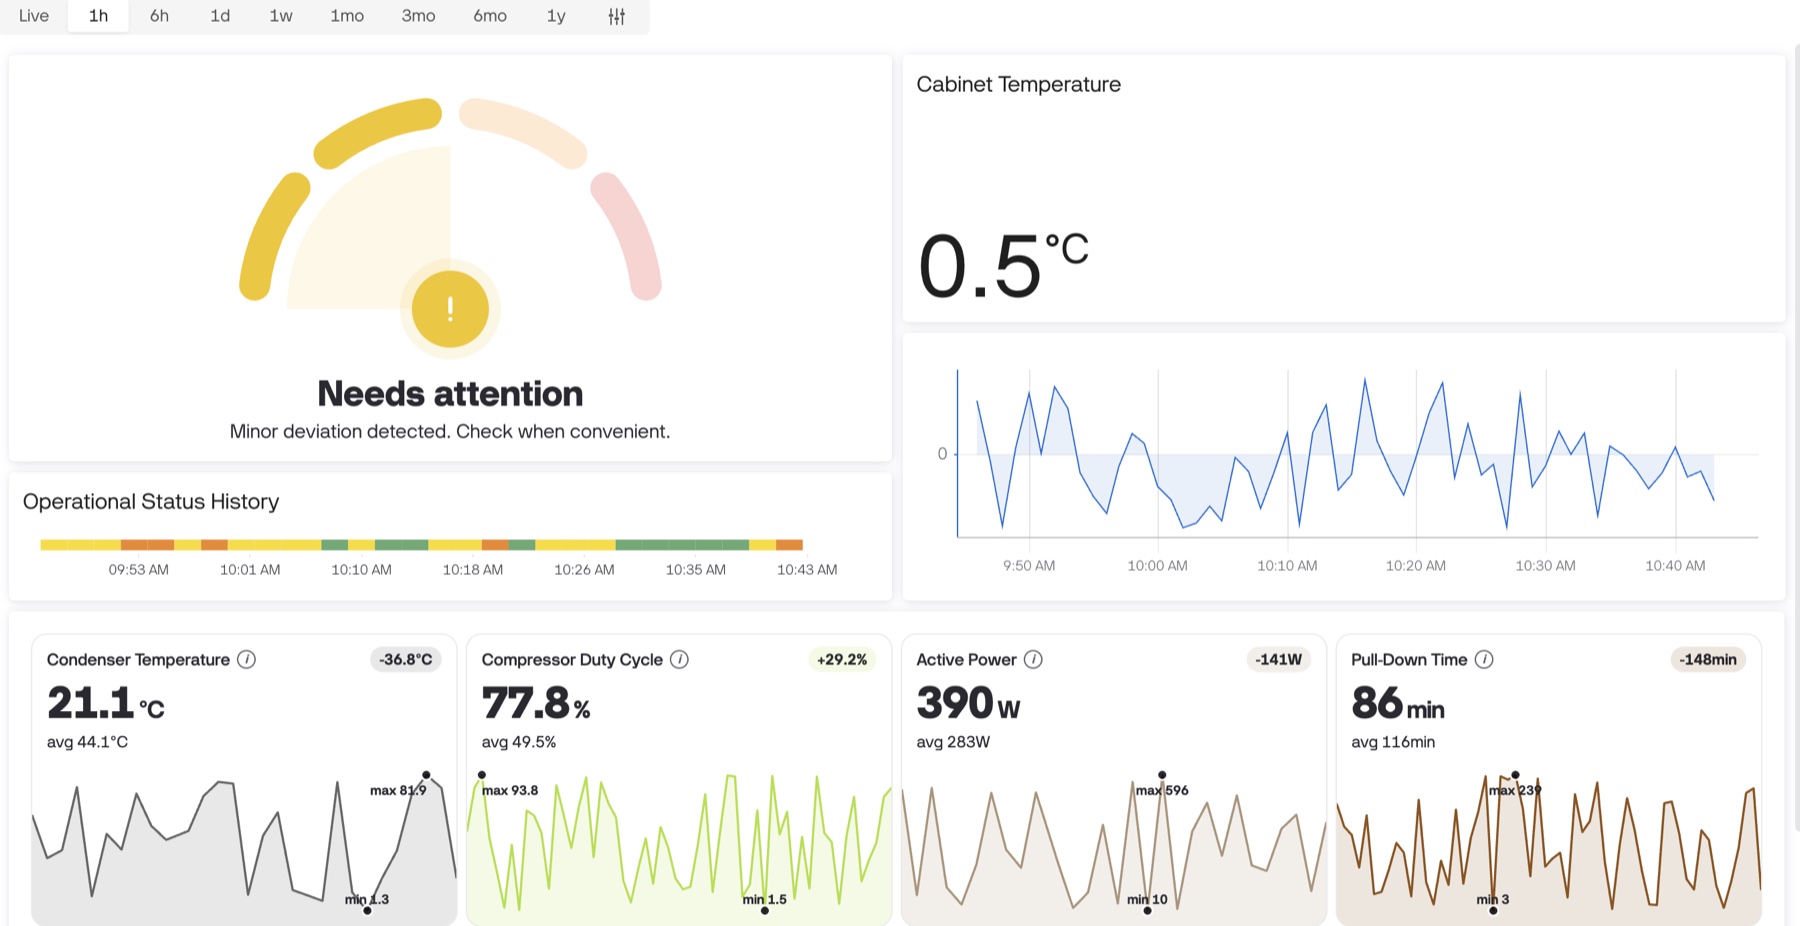
The SmartHVAC unit view: a needs-attention gauge with plain-language status, cabinet temperature, and key health metrics
The unit view: status in plain language, evidence underneath.

You choose who gets alerted and how: you, your service company, or both.

Step 4 · Your service company

Keep your contractor. Add the data.

Monitoring works with the service relationship you already have. Share a unit's history and required actions directly, so the technician arrives knowing what to look at, visits get sharper, and fixes happen the first time. You know when something is actually wrong, and you know when everything is fine.

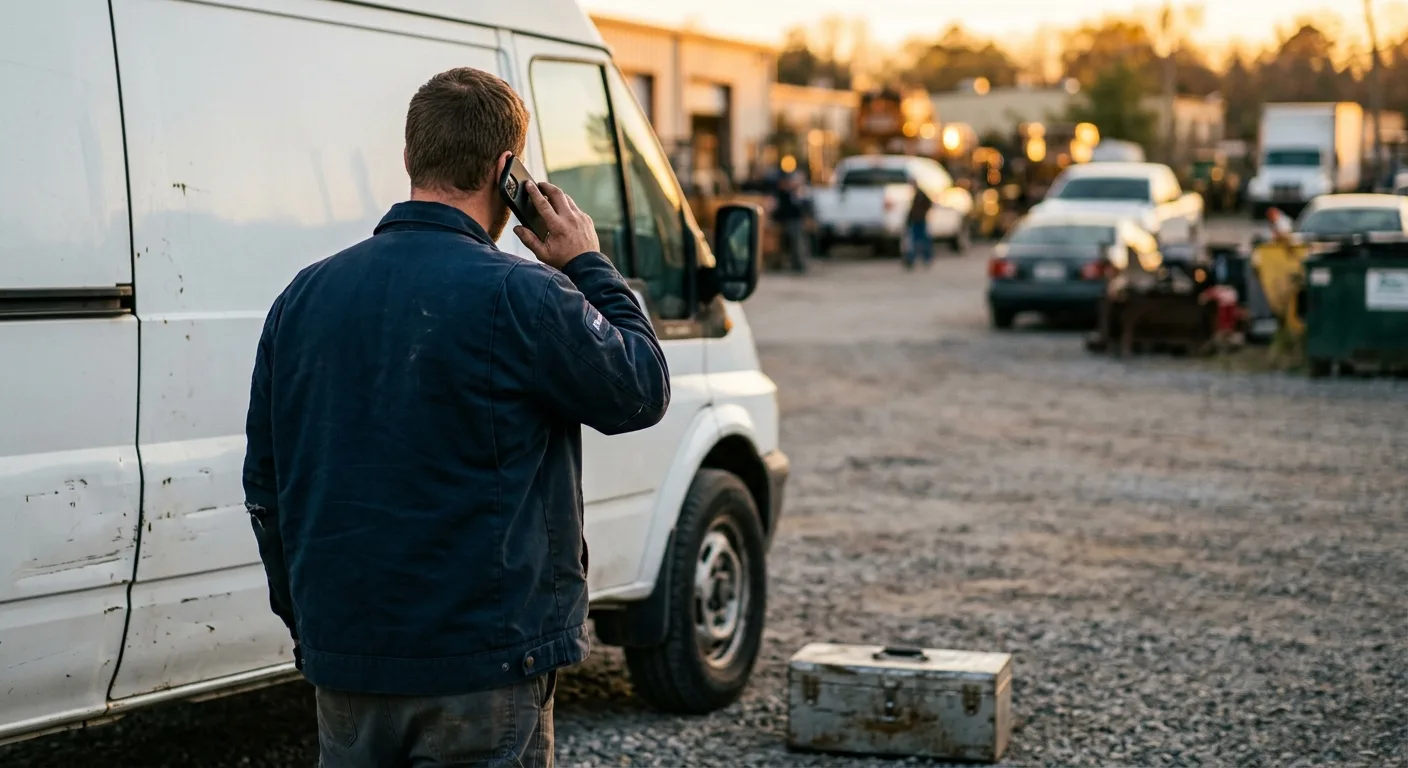
Service technician on the phone beside a work van
Step 5 · Cost

Two parts, no surprises.

Hardware per monitored unit, and a monthly service per site. The totals depend on how much equipment gets covered, so we keep the full breakdown, with the variables that move it, in the cost guide. The useful comparison is one avoided after-hours emergency, because that is usually a year of monitoring in a single incident. To put a number on that for a specific operation, try the walk-in failure cost calculator, or the AC failure cost calculator for comfort cooling.

See it in place

What it looks like in a restaurant.

The restaurant walkthrough shows the whole setup on the equipment a kitchen depends on, and the failure library covers what the data looks like before common failures.

See it on your units

Which units give you the most trouble?

Pick a time that suits. We'll walk through what it would catch on your units, what the alerts look like, and what a rollout takes.

Got a question?

Not ready for a call? Just ask.

Leave your question and an email. We read everything and reply directly, no sequence, no cadence.

The failure library, as it grows.

Guides on catching HVAC and refrigeration failures early. No schedule, no spam.